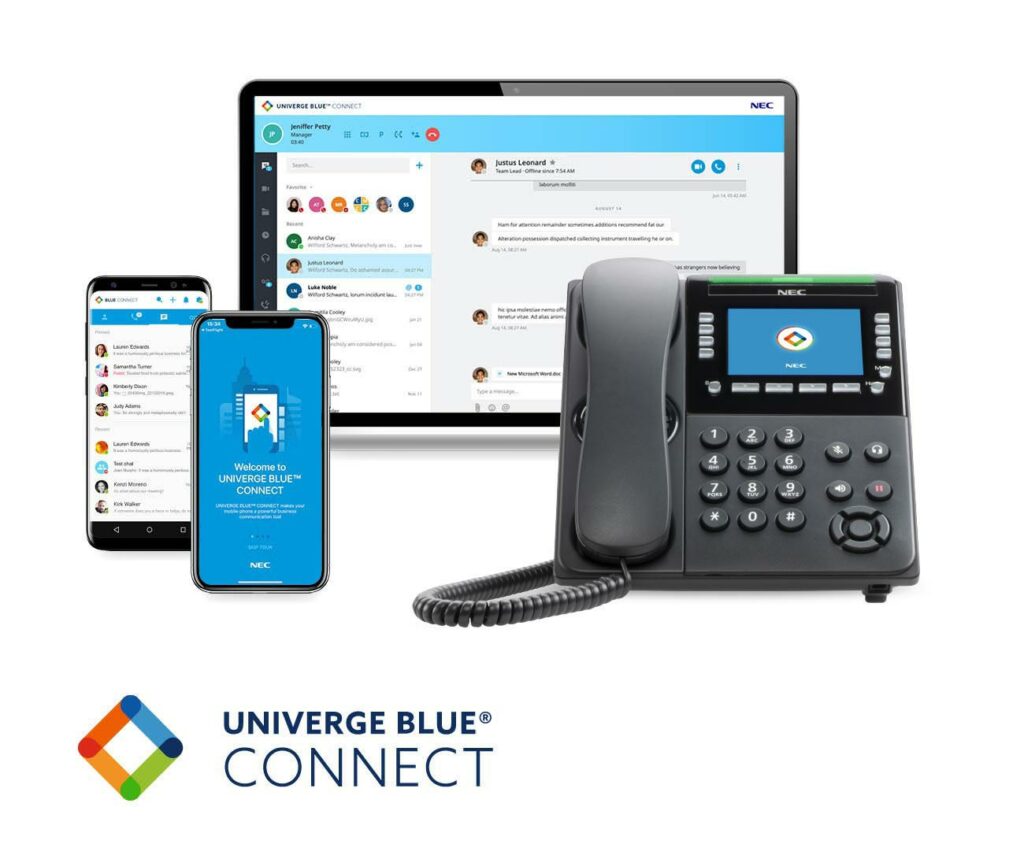
- Setting up the phone:
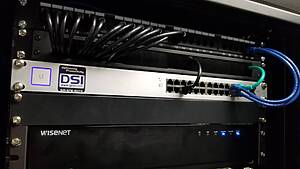
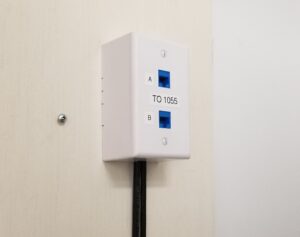
- Connect the phone to a power source and the internet using the provided cables.
- Follow the on-screen prompts to enter your Univerge Blue Connect account credentials and configure the device settings.
- Test the phone’s functionality by making a test call to ensure proper setup.
- Making and receiving calls:
- To make a call, pick up the handset or use the speakerphone button, and dial the desired phone number or extension.
- To answer an incoming call, pick up the handset or press the speakerphone or headset button.
- Access the call history by pressing the “Call Log” or “History” button and navigate to view missed, received, or placed calls.
- Voicemail:
- Access voicemail by pressing the “Messages” or “Voicemail” button on the phone, or dial your voicemail access number.
- Follow the voice prompts to listen to messages, delete them, or save them for later.
- Set up your voicemail greeting and change your voicemail password as prompted by the voice instructions.
- Call forwarding:
- Press the “Call Forward” or “Forward” button on the phone or access the settings menu to enable call forwarding.
- Enter the phone number or extension where you want to forward the calls and confirm the forwarding settings.
- To disable call forwarding, follow the same steps and disable the forwarding option.
- Conference calls:
- Initiate a conference call by calling the first participant.
- Once connected, press the “Conference” or “Conf” button, and then dial the next participant’s number or extension.
- Press the “Conference” or “Conf” button again to join all parties. Repeat these steps to add more participants.
- Manage the conference call using the phone’s buttons or on-screen options, such as muting or disconnecting participants.
- Contacts and directories:
- Add a contact by pressing the “Contacts” or “Directory” button and selecting the option to add a new contact.
- Enter the contact’s information, such as name, phone number, and extension, and save the entry.
- To search for a contact, use the search function within the contacts list or corporate directory (if available).
- Do Not Disturb (DND) mode:
- Activate Do Not Disturb mode by pressing the “DND” or “Do Not Disturb” button on the phone or navigating to the appropriate settings menu.
- When DND mode is active, incoming calls will be sent directly to voicemail, and the phone will not ring.
- To deactivate DND mode, press the “DND” or “Do Not Disturb” button again or disable it through the settings menu.


