
DSI | Digital Systems Integration, Inc. presents this step-by-step guide on large LED TV mounting. Whether it’s a residential or commercial setting, mounting your LED TV can transform your viewing experience, saving space and improving overall aesthetics.
Essential Tools for LED TV Mounting
Before starting, ensure you have the right tools. These may include a stud finder, drill, level, screwdriver, measuring tape, and a TV wall mount bracket.
1. Select the Perfect Location
Choosing the right spot for your LED TV is crucial. Consider viewing angles, sunlight glare, and the location of power outlets. Also, ensure the spot you select can support the weight of the TV.
2. Use a Stud Finder to Locate the Wall Studs
Using a stud finder, identify and mark the wall studs. This step is vital as the wall studs will provide the necessary support for your large LED TV.
3. Position and Attach the Wall Mount Bracket
Hold the TV mount bracket against the wall, ensuring it’s level and at the correct height. Mark the drill holes with a pencil and then drill the holes into the wall studs.
4. Secure the TV Mount Bracket to the Wall
Insert the bolts or screws provided into the drilled holes. Ensure the TV mount bracket is secured firmly to the wall.
5. Attach the Mounting Arms to the TV
Depending on your TV model, the mounting arms will attach to the back of your LED TV. Always follow the manufacturer’s instructions.
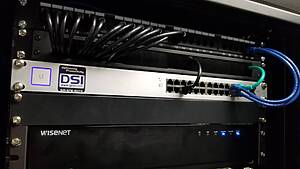
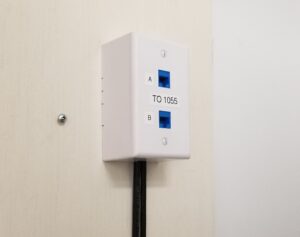
6. Connect Cables Before Mounting
Before lifting your large LED TV onto the mount, connect all necessary cables. This includes HDMI cables, power cables, and any other necessary cords.
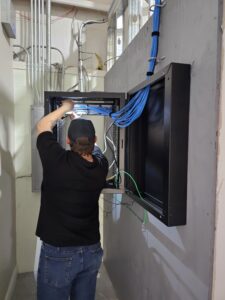
7. Lift and Attach the TV to the Mount
With the help of another person, carefully lift the TV onto the mount. Ensure it’s secure before letting go.
8. Check the TV Alignment
Finally, use a level to check the alignment of your TV. Make adjustments as needed to ensure it’s perfectly horizontal.
graph TB
  A(Select Perfect Location) --> B(Locate Wall Studs)
  B --> C(Attach Wall Mount Bracket)
  C --> D(Secure Bracket to Wall)
  D --> E(Attach Mounting Arms to TV)
  E --> F(Connect Cables)
  F --> G(Attach TV to Mount)
  G --> H(Check TV Alignment)
Conclusion
With this guide, you’ll be well-equipped to mount your large LED TV securely and professionally. Remember, safety is paramount – if in doubt, consult a professional for assistance. Enjoy a transformed viewing experience with your newly mounted LED TV.