
Measure your internet speed using the Speedtest CLI on both Windows and Linux systems. Here’s a quick reference to installing and running Speedtest CLI.
Windows
Step 1: Open Command Prompt or PowerShell
Press Win + R, type cmd or powershell, and press Enter to open the Command Prompt or PowerShell.
Step 2: Install Speedtest CLI
Visit the official Speedtest CLI page and download the Windows version. Extract the contents of the downloaded ZIP file to a convenient location.
Step 3: Run Speedtest CLI
Navigate to the directory where you extracted the Speedtest CLI files using the cd command, for example:
cd C:\path\to\speedtest-cli-folderReplace C:\path\to\speedtest-cli-folder with the actual path to the extracted files.
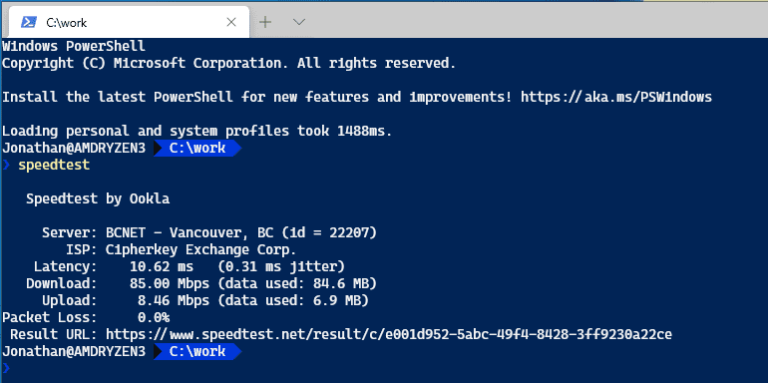
Run the Speedtest CLI with:
.\speedtest.exeWait for the test to complete. The output will display your internet connection’s ping, download speed, and upload speed.
Linux
Step 1: Open the Terminal
Access the terminal with Ctrl + Alt + T or search for “Terminal” or “Konsole” in your system’s application menu.
Step 2: Install Speedtest CLI
For Debian/Ubuntu-based distributions, run:
sudo apt install speedtest-cliFor RHEL/CentOS/Fedora-based distributions, run:
sudo yum install speedtest-cliStep 3: Run Speedtest CLI
Execute the Speedtest CLI by entering:
speedtest-cliIn both cases, wait for the test to complete. The output will display your internet connection’s ping, download speed, and upload speed.
With this quick reference, you can easily install and use Speedtest CLI on Windows and Linux systems to measure your internet speed and monitor connection performance.